How a stack of books can make your video conferencing 10x better

Look at this image below. 

On the left – you have a professional video setup (newscaster) and on the right, you have a guest with an amateur video conferencing setup.

Good Video Angle vs Bad Video Angle

The two images are obviously dramatically different in quality. The newscaster comes across as professional while the amateur on the right comes across as visually awkward, less professional and less trustworthy.

And this amateur isn’t just any joe-schmo – he’s the CEO of a large multinational corporation.

Now – you’re probably thinking that I’m being unfair to compare the million-dollar professional newscaster setup to a person working from home. And you’re right – the home setup won’t ever be as good. 

But would you be surprised if it could be darn close with just a simple stack of books?

Common Video Conferencing Mistakes

The CEO above – and I’m guessing most of you – is using a laptop at home for work. And it’s set up something like this.

This makes perfect sense of course – this is how you typically use your laptop to type, surf, etc.

But when you jump on a video conference – 3 problems emerge:

  1. The top of the laptop screen (where your video camera is) is several inches below your face. The result is the video camera is ‘looking up’ from below.
  2. The laptop screen is at ~45 degrees so the camera angle is actually looking into your nostrils.
  3. Since the laptop is positioned for typing – the keyboard is relatively close to you (~12 inches from your body). As a result – the video camera is also very close and creates a ‘zoomed in’ image when video conferencing.

Unfortunately – these 3 problems created the terrible CEO video image you saw above. And this is occurring in your images too.

I don’t know about you – but I’ve never met anyone that looked good zoomed-in from below staring up their nostrils.

Easy Solution

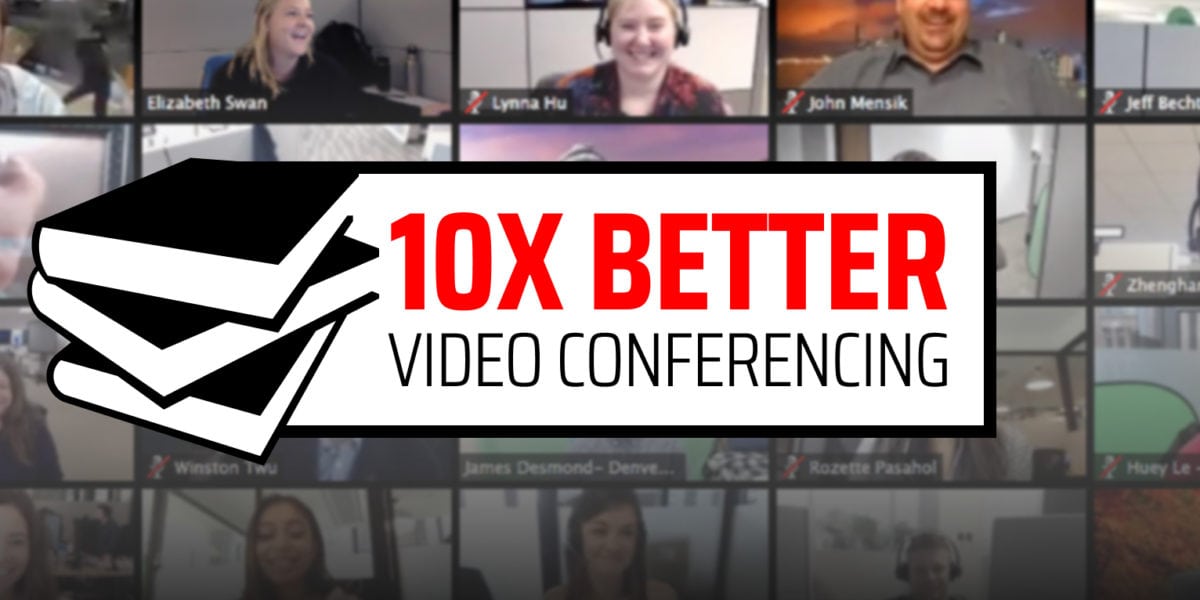
Believe it or not – the solution is super super easy. All you need is a stack of books.

3 Simple Steps

Step 1: Grab a stack of books and place your laptop on top. The goal is to raise the laptop CAMERA TO BE AT EYE LEVEL. This added height enables you to look straight into the camera – a key to the professional configuration. The amount of books depends on your height – but for me – this is a stack of books ~7 inches tall.

Using A Stack of Books for a Better Angle

Step 2: Reposition the laptop screen to be at or near 90 degrees. This removes the upward angle of the video image. Ideally – you want the screen to be perpendicular to your body.

Step 3: Push the entire setup further away from your body than you would while typing. The screen is ideally 24 inches away from your body. This distance then gets the right amount of your torso in the frame – another key to the professional look.

Using a Stack of Books for a Better Angle

And that’s it. Your setup is now nearly as good as the million-dollar newscaster’s setup.

Conclusion

With all of us spending more and more time on video – it’s time to master the basics. It’s amazing how a simple stack of books with a bit of spacing can dramatically improve your video conferencing quality.

And if you’ve done the book trick – and are now looking for 5 more advanced lessons – see this article.

If you have any questions – please feel free to contact me at @andytryba.

5 Advanced Video Conferencing Tips

When people hear you’re a ‘remote worker’ – they automatically assume you’re working in some elevator-music-filled coffee shop or sitting around the house in your pajamas taking conference calls. They also, unfortunately, think you’re less professional (which obviously isn’t true). But if we want to truly make remote work mainstream – we need to change these perceptions and up our ‘remote work’ game. We need to start with how they ‘see’ you. In a remote worker world – that is via video conferencing. Here are 5 ‘advanced’ tips on how to improve your video conferencing professionalism.

Note – I’m skipping the ‘basic’ video conferencing stuff. Yes – have enough bandwidth to do great HD video. Yes – audio quality matters. Yes – use Zoom or some other provider. No – don’t use your phone as the endpoint. No – don’t have your cats jumping on your lap. There are plenty of blogs out there with basic tips – this blog is for the advanced class.

Advanced Tip 1: Camera orientation

First – it’s important to discuss the end state of what you’re trying to accomplish – a video conference that feels super professional and feels as close to an ‘in-person’ meeting as you can. To do this – the #1 consideration is the orientation of the camera.

I do video calls with 50-300 remote workers a week – and I can tell you that it’s in the single digits on how many of them get the orientation right.

The key to a correct orientation is the camera angle is parallel to your eyes. When the camera is ‘straight on’ – you look like you would if you were meeting in-person. Angles are everything here – and if you’re off by even a little bit – you lose the feeling of in-person.

Take a look at the images below – and you can see the huge difference between the right angle (first image) and wrong angles (all others)…

The right angle
Wrong angles

Advanced Tip 2: Laptop camera

Note the middle ‘wrong’ image above – this is a typical ‘laptop’ camera angle. What often occurs (since the camera on the top of the angled screen) – is that you get the ‘up the nose’ angle. You lose professionalism – and it doesn’t matter who you are – nobody looks good from this angle.

To use your laptop effectively for video conferencing – you have to eliminate the angle of your laptop screen and have it positioned at 90% instead. But for the camera to then not point at your neck – you need to raise it by putting 5-6 books under it. This puts the camera at eye level and brings your orientation back to the right position.

The only problem now is that you’re actually too close to the camera – and you look huge on camera to the other side. So to solve that – you’ll want to move your chair about 2 feet away from the desk or table you put your laptop on. This will feel a bit weird at first – but it’s the right distance away for the correct amount of torso to be seen in the video and for you to look closer to the ‘correct’ image above.

Advanced Tip 3: Background

Another big mistake that I see remote workers make is not paying attention to what’s behind you in the video conference. It’s hard to take you seriously when I see your Luke Skywalker bedsheets in the background.

The ideal background is a blank or wallpapered wall (like you see in my image above) or a professional area such as a neat bookshelf or lamp. You should basically ask yourself – if I were closing a $1M deal – would the person believe I’m in a corporate office? If yes – you’ve got a good background.

There are also apps that have built-in background blur or green screen. I find those largely distracting and don’t often work well (particularly around the edges of people). I wouldn’t recommend using that option to hide your background.

One trick that I’ve used in the past is to ‘make’ a professional background using a photography setup. You can pick up a stand kit on Amazon for under $40 and a variety of different backdrops for only $10-$15. So for ~$50 – you can have a truly professional background – that’s super easy to put up and down – and you’ll fool everyone that you’re not in an office. So if you’re stuck with your Luke sheets and have no other options – get this setup.

Advanced Tip 4: Noise-canceling

There is nothing more annoying than tons of background noise from a participant in a video call. I’ve heard it all – from the noises of being outside to dogs barking to children crying to the flushing of toilets (this happens too often actually). I know there is a mute button – definitely use it – but also do us all a favor by getting a noise-canceling microphone.

Noise-canceling microphones are different than noise-canceling headphones. Noise-canceling headphones are to block out external noise for you (the listener). These are also great for video conferencing (such as my favorite – the Jabra Evolv 75e) – but they don’t do anything for the microphone (for us on the other side of your line).

Noise-canceling microphones, on the other hand, actively cancel out noise for the receiving side. There are many hardware mics that do this – and I highly recommend them. But the latest innovation is software microphone noise canceling. I’ve been super impressed with the Krisp.ai software guys. For $3/m – they have an amazing product that all remote workers should use to eliminate background noise. One of my favorite products of all time.

Try Krisp

Advanced Tip 5: HD Option in Settings

I’m not sure how I discovered this option – nor why it’s not ‘on’ by default – but there is a setting in Zoom (and other video providers) to turn HD on. I’m assuming they want to either conserve your bandwidth or reduce their compute requirements – but who in their right mind wants to do SD video? Have you tried going back and watching a non-HD TV? Can’t do it.

The setting in Zoom is under Preferences -> Settings -> Video -> Enable HD. Turn it on…

Okay – enough tips for now – but I’m excited for the day that everyone follows all 5 of these. And if you have more – please let me know and happy to pass them on…